Convert spreadsheets to general journal entries
Need to import multiple general journal entries in your CSV/Excel file into QuickBooks?
Try the ProperConvert (General Journal Entries) app (formerly CSV2QBJ converter). It can convert your general journal entries into a format that QuickBooks Desktop can import.
Import General Journal Entries Into QuickBooks
For QuickBooks desktop, convert to IIF format almost any available QuickBooks version or QBJ format if you have QuickBooks Desktop 2013 or later, QuickBooks Enterprise 13 or later, QuickBooks Desktop for Mac 2013 or later.

Convert multiple journal entries as one file
The GJE app converts multiple journal entries in your CSV or Excel in one IIF or QBJ file.
To help you work fast and efficient with one CSV or Excel, the app supports processing of multiple journal entries.
Work in Excel or export from other system in your workflow
Your ecommerce, production or other purpose system may export general journal entries as CSV or TXT format. The GJE app understands different date formats, numeric formats, decimal and other separators, encodings, so you can use exported CSV file with minimal or no changes required.
IIF or QBJ choice
The IIF and QBJ formats have their advantages and disadvantages compared to each other in different situations. With the GJE app you have a choice to utilize each format effectively.
General Journal Entries mode
This tutorial shows how to use the ProperConvert converter in the General Journal Entries mode. See it as a video at the end of this article.
Introduction
This tutorial shows how to use the ProperConvert app in the General Journal Entries mode. Please see another tutorial about the default Transactions mode.
Step 1: Download and install the app
To download the app, go to the main page and click the Download button. Once downloaded and installed, start the ProperConvert app.
Step 2: Open a CSV or Excel file with General Journal Entries
Select a CSV file with General Journal entries. You can use CSV or Excel file. There is a sample CSV file sample-gje.csv you can use to create your entries.

Step 3: Switch to the General Journal Entries mode and select output format
The first thing to do is to switch to the General Journal Entries mode.
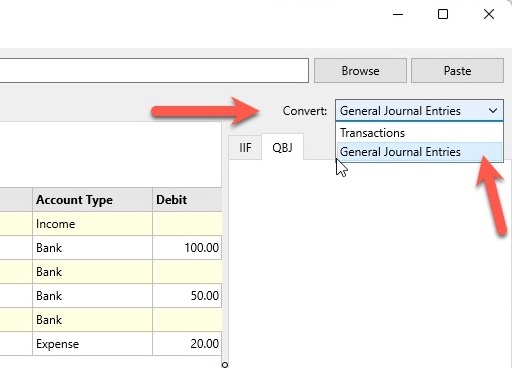
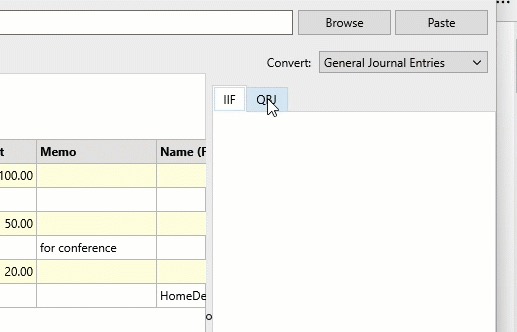
Then select either IIF or QBJ output format. The IIF format is easier and less restrictive.
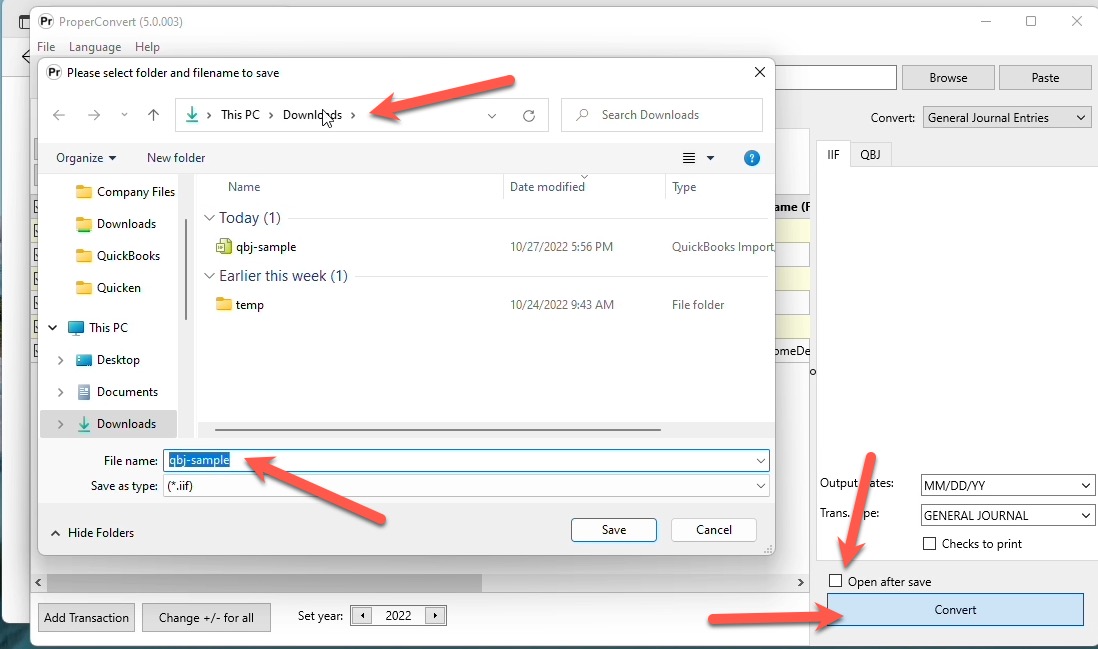
Uncheck the “Open after save” checkbox to have better control over the created file. When the checkbox is set, the converter calls Quickbooks to import right after creating the output file.
Click the Convert button and confirm the filename and the file location.
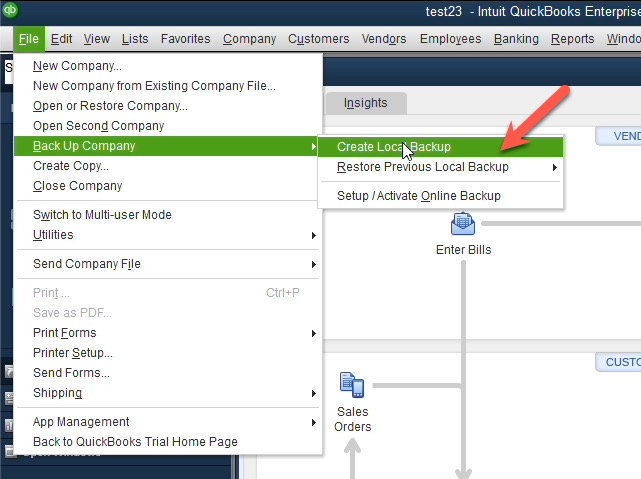
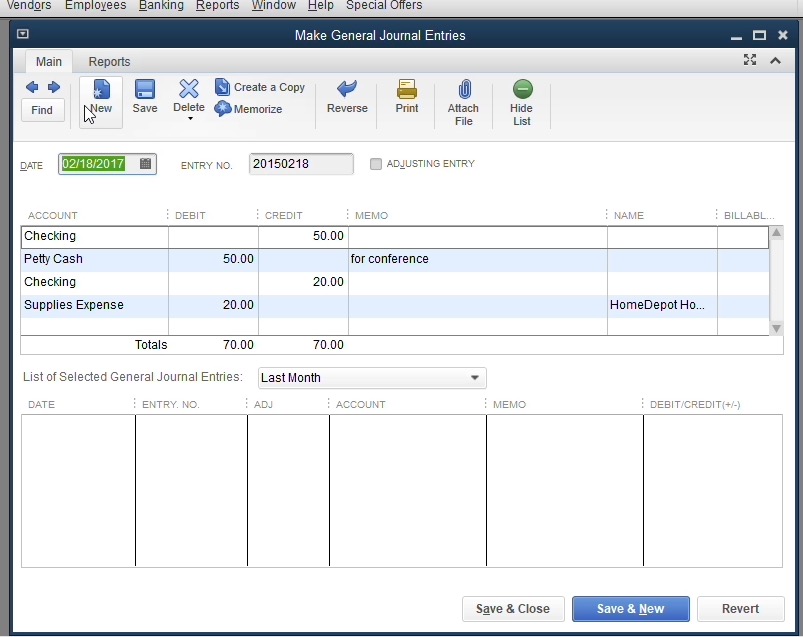
Step 4: Backup Quickbooks and import IIF or QBJ file
Make sure to back up your Quickbooks company data file before importing any files.
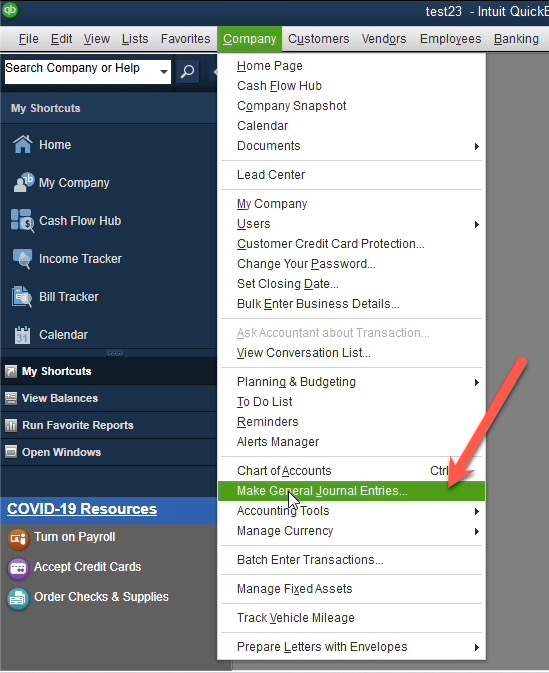
To import the created IIF file manually, in Quickbooks, click File, Utilities, Import, IIF.

For Quickbooks 2019 or later, choose the legacy method for faster import and the new method for a more restrictive mode. For the restrictive mode in case any failed transactions, Quickbooks creates a new IIF file with the added timestamp in the filename. You can open this file in Notepad and read the errors.
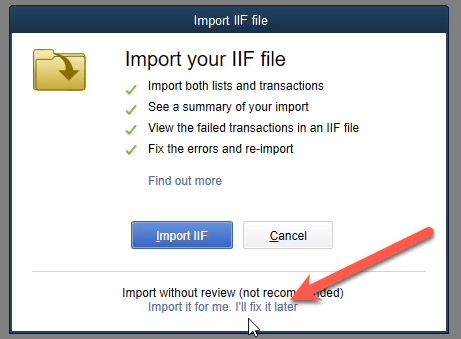
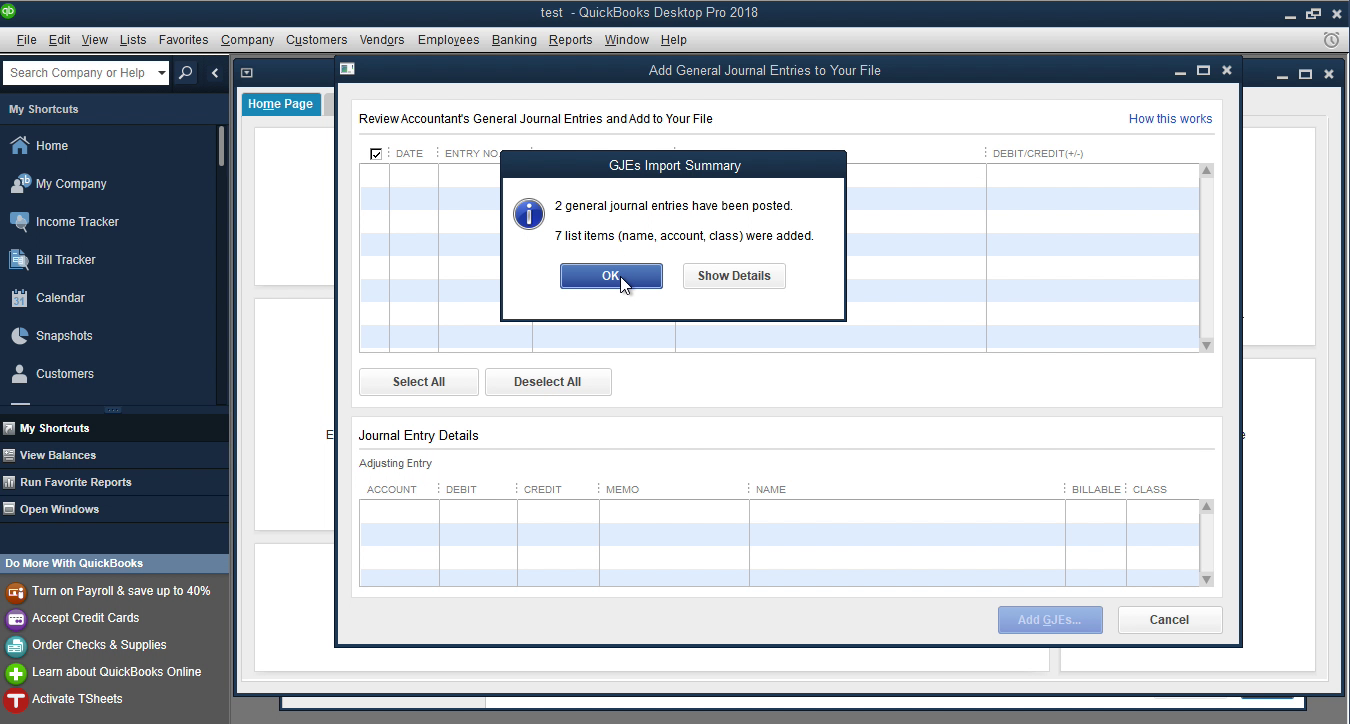
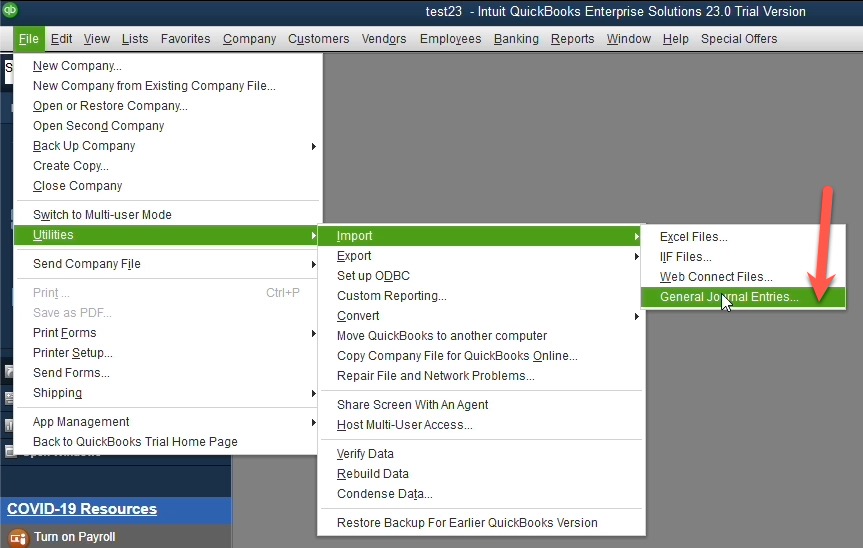
To import created QBJ file manually in Quickbooks, click File, Utilities, Import, General Journal Entries.
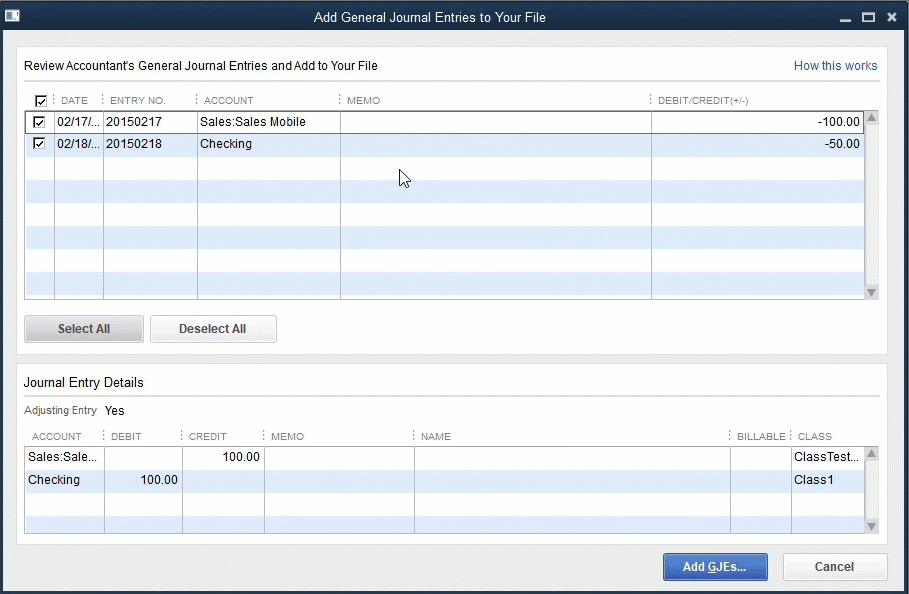
For QBJ files, Quickbooks shows the preview for imported data as a better interface option.
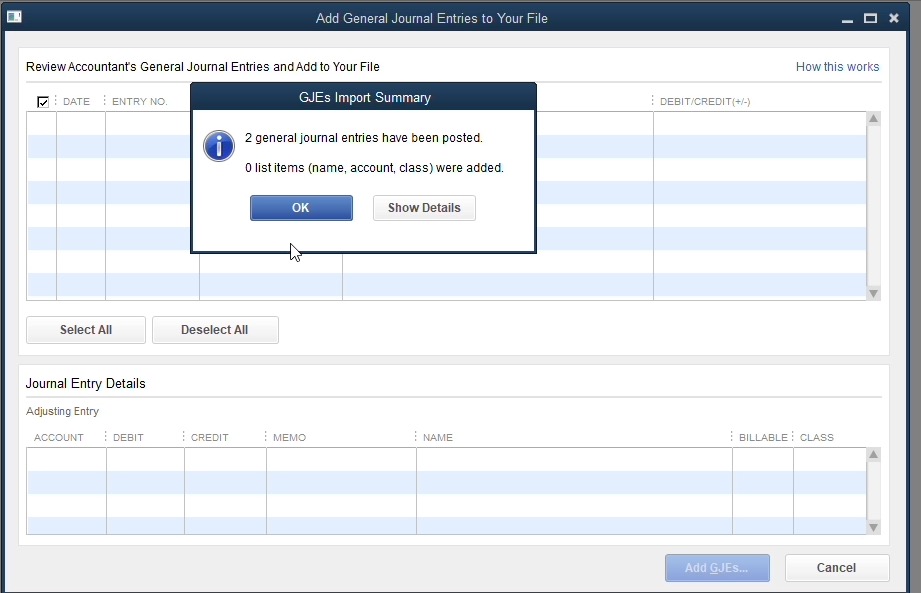
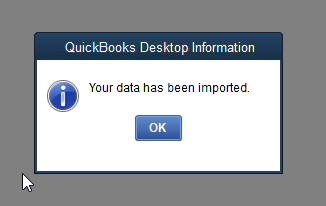
Step 5: Review imported entries in QuickBooks after IIF ro QBJ import
You can review imported entries after import for both IIF and QBJ files.
See another tutorial for the Transactions mode.