Import PDF into FreeAgent: convert PDF to OFX
FreeAgent imports OFX files. Convert your PDF file to OFX first, then import it. Read the full FreeAgent import guide.
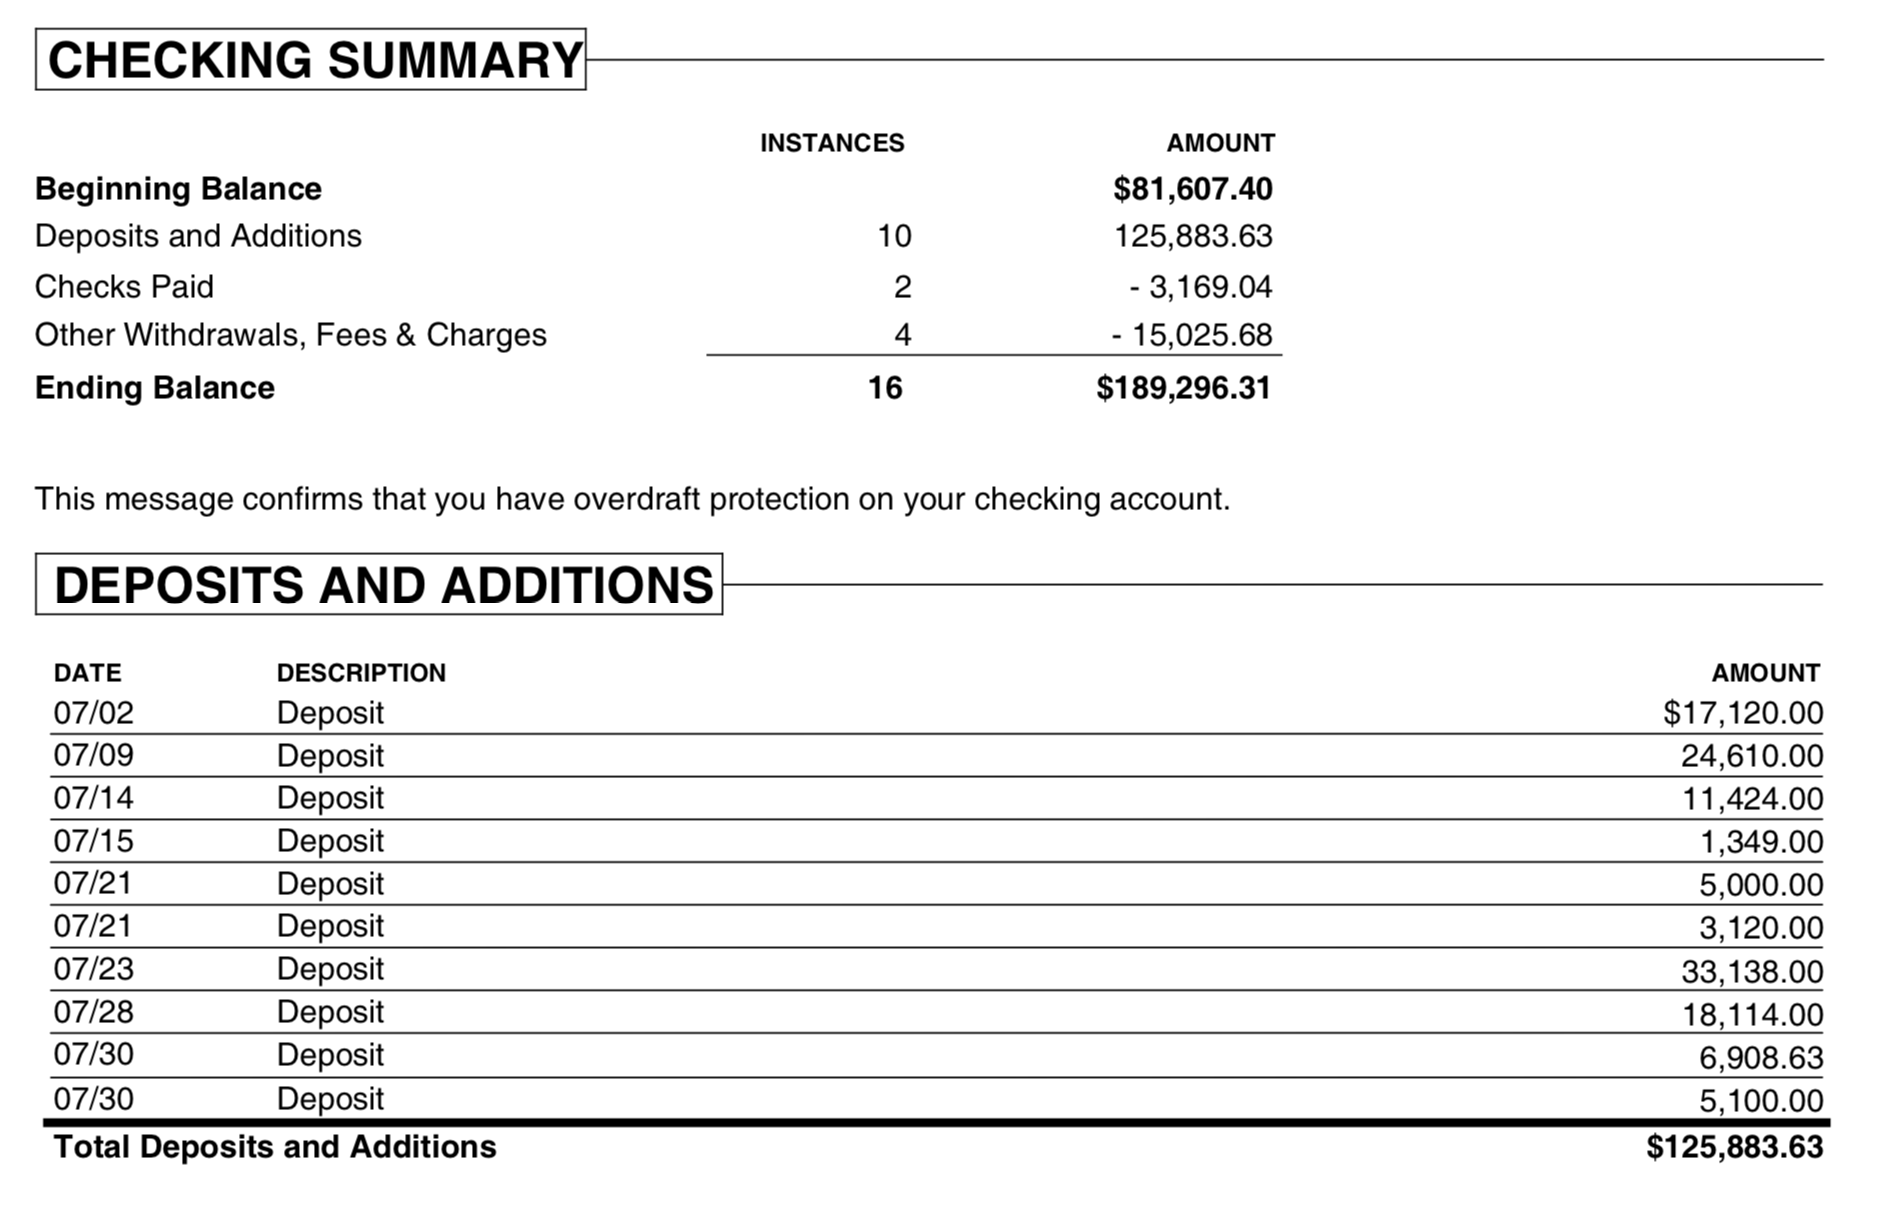
What is a PDF statement
A PDF shows transactions for reading, not for importing, so every row has to be extracted from the page layout. Before you convert, check that rows split across two pages are complete, that statements crossing a new year have the right year, and that the total matches the closing balance. A scanned statement is read with OCR, so check its amounts more closely.
What is an OFX file
OFX (Open Financial Exchange) is a standard format for bank data. Many accounting apps import it. It holds the date, amount, payee, memo, check number and a transaction ID, along with the account ID and type. More about OFX.
Why convert PDF to OFX
A PDF shows a statement to people, but accounting apps can't read its table of transactions. OFX is the most widely accepted bank format, with named fields and a transaction ID on each row, so an app can skip rows it already has.
Before you import: check the account in FreeAgent
FreeAgent keeps your data online, so there is no company file to back up. Check that the bank account exists and look at what is already uploaded for this period.
Step by step: convert PDF to OFX
- Download, install and start ProperConvert. The trial is free.
- Open your PDF file.
- Review the transactions to see how the app read your file. Check that the dates are correct, and that expenses are negative and deposits (payments to the account) are positive. The "Change +/-" button reverses the signs for the whole file, for bank and credit card accounts alike.
- Set the OFX settings below.
- Click Convert, then confirm the file name and location.
Set the OFX output settings
In the QBO/QFX/OFX tab on the right sidebar, set the file type to OFX and select OFX All apps as the OFX target, then set:
- Account ID: digits only. Use the same number for every file of one account and a different number for each account.
- Account type: adjust it when you switch accounts.
See all OFX settings.
Import the OFX file into FreeAgent
- Log in to FreeAgent and click Banking.
- Click Upload a bank statement.
- Click Select a file and select the OFX file.
- Select the account to upload to.
- Optionally check "Guess explanations for my bank transactions". It works better once you have imported and categorized a few statements.
- Click Upload Statement, then Review your transactions.
See the FreeAgent import guide for more.
FreeAgent OFX questions
Why convert to OFX when FreeAgent lists CSV?
FreeAgent has a fixed CSV layout and doesn't let you map columns. In our test, a file trimmed to that layout was still refused, and the same transactions converted to OFX uploaded at once.
How do I categorize the imported transactions?
FreeAgent calls this explaining. For each transaction, select a category, change the description if you like, and click Explain Transaction. Once you have explained some, FreeAgent can guess categories on the next OFX import.
How do I undo an upload?
Click Undo Last Upload, then Delete these transactions. FreeAgent removes everything from the last upload, and you can convert the file again and upload it.