Import QBO into QuickBooks Online: convert QBO to CSV
QuickBooks Online imports OFX, QBO and CSV files. It can take your QBO file directly, so convert it to CSV when the direct import fails or you need what CSV offers. Read the full QuickBooks Online import guide.
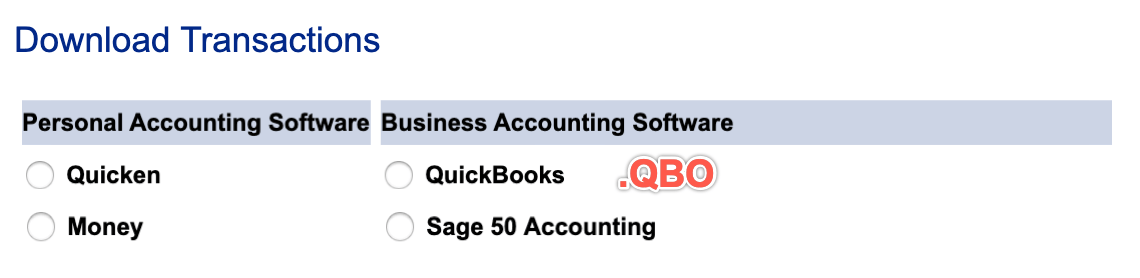
What is a QBO file
QBO is OFX with extra fields for QuickBooks, so the date, amount, payee, memo and transaction ID all carry over. Convert it when you need another format for your app or version. Check the account type, and that credit card amounts have the signs you expect.
What is a CSV file for QuickBooks Online
A CSV file is a plain text table with one transaction per row. QuickBooks Online reads only the date, the amount and one description column from it, and you match the columns during the upload.
Why convert QBO to CSV
A CSV lets you edit the rows in a spreadsheet before you upload them. QuickBooks Online reads only the date, amount and description from a CSV, so OFX or QBO is the better choice when you want the payee, memo and duplicate checks.
Before you import: check the account in QuickBooks Online
QuickBooks Online keeps your data online, so there is no company file to back up. Check that the account exists under Banking and look at what is already imported for this period.
Step by step: convert QBO to CSV
- Download, install and start ProperConvert. The trial is free.
- Open your QBO file.
- Review the transactions to see how the app read your file. Check that the dates are correct, and that expenses are negative and deposits (payments to the account) are positive. The "Change +/-" button reverses the signs for the whole file, for bank and credit card accounts alike.
- Set the CSV settings below.
- Click Convert, then confirm the file name and location.
Set the CSV output settings
In the CSV tab on the right sidebar, select CSV Quickbooks Online as the CSV target. It writes the date, description and amount. Use numeric dates, and a decimal separator without a thousands separator. See all CSV settings.
Import the CSV file into QuickBooks Online
- Click Banking, select the account, and click File upload. Depending on the layout, the link may read Upload transactions, Import a statement or Upload a bank file.
- Click Browse, select the CSV file, and click Next. Select the QuickBooks account and click Next.
- Match the columns: set the date, description and amount, and confirm the date format. Click Next.
- Check the transactions QuickBooks shows, click Next, and finish the import.
- Review and categorize the transactions in For Review.
See the QuickBooks Online import guide for more.
QuickBooks Online CSV questions
What does QuickBooks Online read from a CSV file?
Only the date, the amount and one description column. To keep the payee, memo and check number, use OFX or QBO instead.
Does QuickBooks Online skip duplicates from a CSV file?
Not by transaction ID, because a CSV doesn't have one. Check the date range before you upload, or use OFX or QBO.
Related QuickBooks Online conversions
- Import PDF into QuickBooks Online: convert PDF to CSV
- Import OFX into QuickBooks Online: convert OFX to CSV
- Import QFX into QuickBooks Online: convert QFX to CSV
- Import QBO into QuickBooks Online: convert QBO to OFX
- Import QIF into QuickBooks Online: convert QIF to CSV
- Import MT940 into QuickBooks Online: convert MT940 to CSV