Import PDF into Quicken: convert PDF to QFX
Quicken imports QFX, QIF and CSV files. Convert your PDF file to QFX first, then import it. Read the full Quicken import guide.
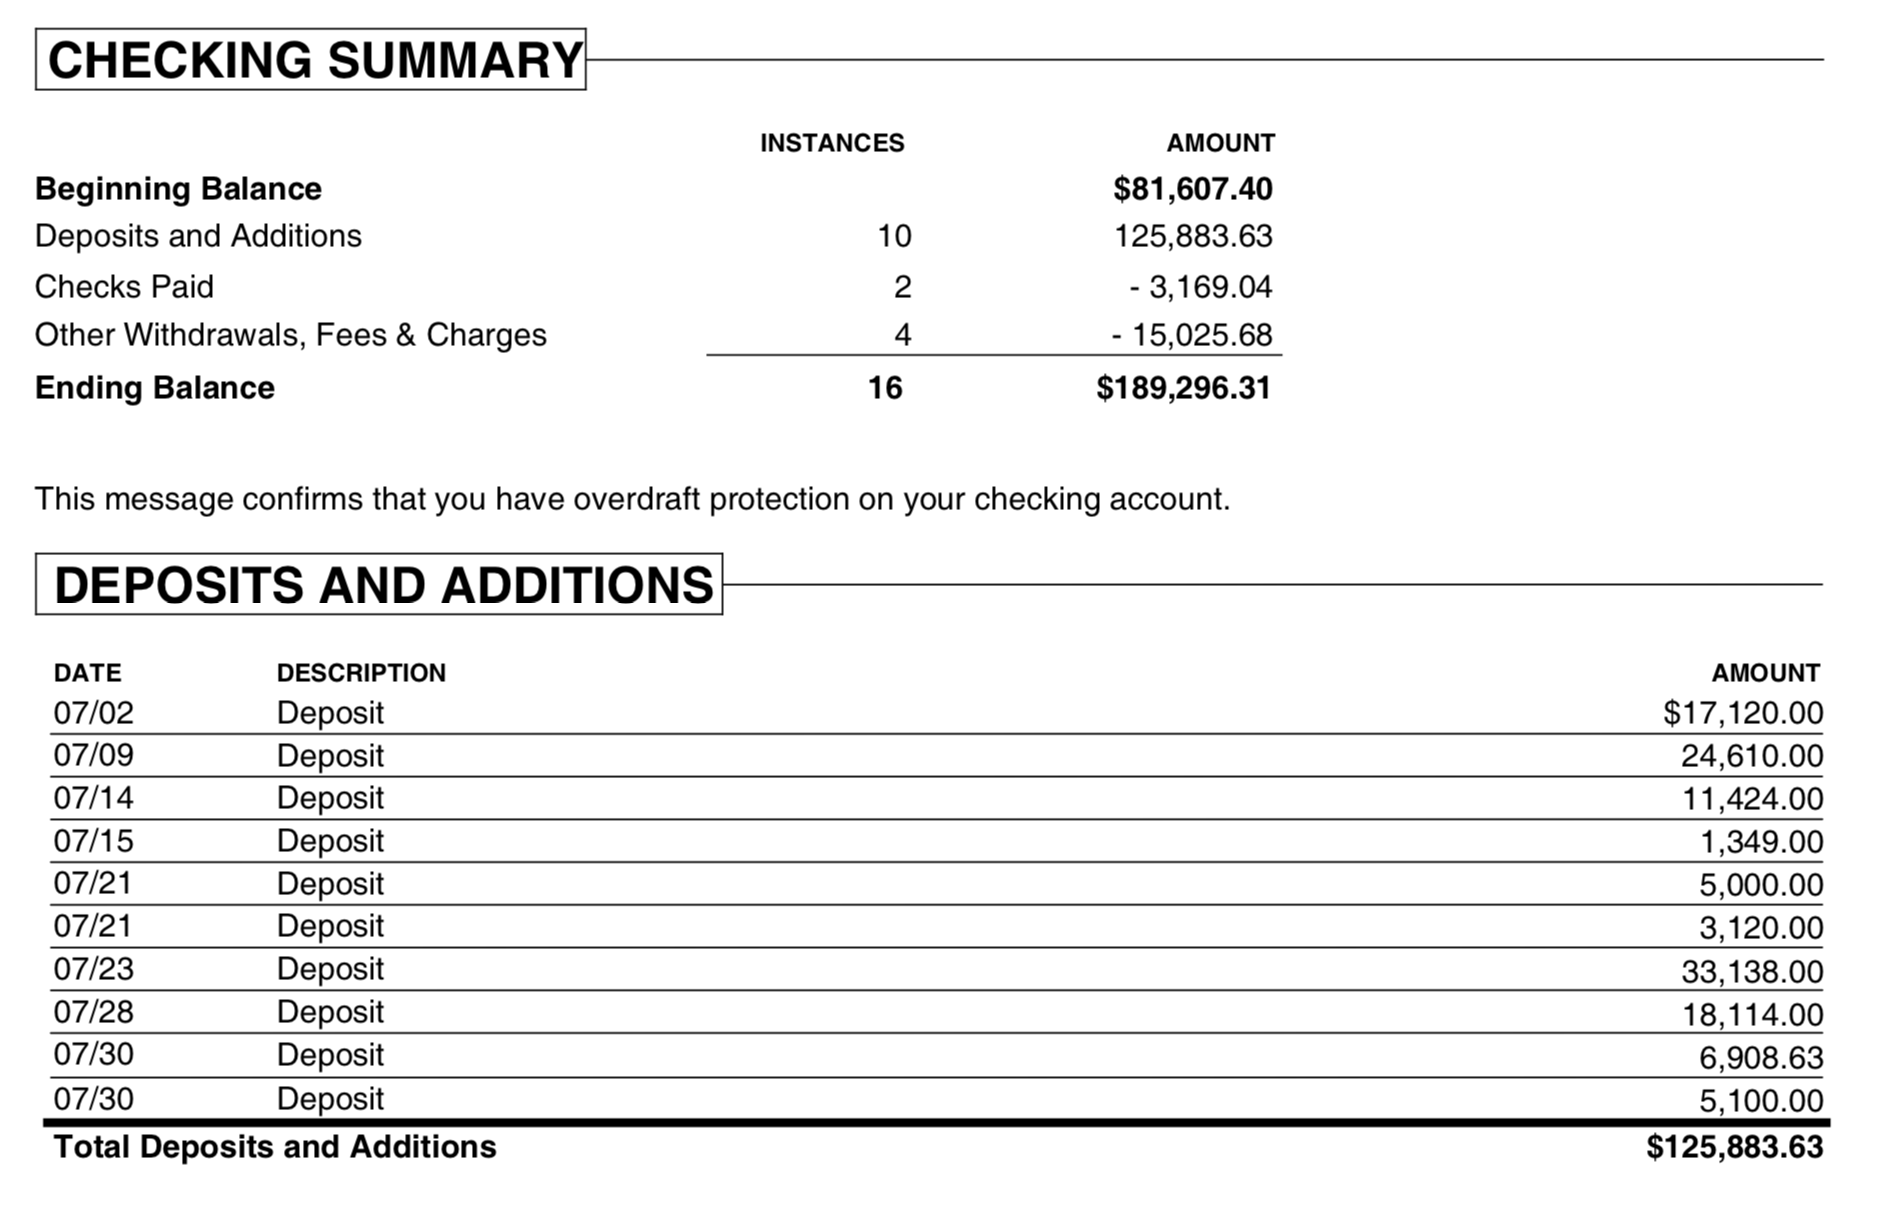
What is a PDF statement
A PDF shows transactions for reading, not for importing, so every row has to be extracted from the page layout. Before you convert, check that rows split across two pages are complete, that statements crossing a new year have the right year, and that the total matches the closing balance. A scanned statement is read with OCR, so check its amounts more closely.
What is a QFX file
QFX is the Web Connect format Quicken uses for bank and credit card downloads. It is OFX with extra fields for Quicken, and it holds the date, amount, payee, memo, check number and a transaction ID. More about QFX.
Why convert PDF to QFX
A PDF shows a statement to people, but accounting apps can't read its table of transactions. Quicken imports QFX for bank and credit card downloads, and each row's transaction ID lets it skip what it has already imported.
Before you import: back up Quicken
Back up your Quicken data file before you import any file, so you can restore it if the transactions come in wrong.
Step by step: convert PDF to QFX
- Download, install and start ProperConvert. The trial is free.
- Open your PDF file.
- Review the transactions to see how the app read your file. Check that the dates are correct, and that expenses are negative and deposits (payments to the account) are positive. The "Change +/-" button reverses the signs for the whole file, for bank and credit card accounts alike.
- Set the QFX settings below.
- Click Convert, then confirm the file name and location.
Set the QFX output settings
In the QBO/QFX/OFX tab on the right sidebar, set the file type to QFX (Quicken), then set:
- Account ID: digits only. Use the same number for every file of one account and a different number for each account.
- Account type: Quicken imports a credit card file only into a credit card account, and a checking file only into a bank account.
- Currency: US dollars for the Quicken US edition, US or Canadian dollars for the Canadian edition.
- INTU.BID: the bank label Quicken shows during import. It doesn't have to match your bank, but it must be allowed for the account type. Click Lookup: "CH" is for checking, savings and credit lines, "CC" is for credit cards, and "CH,CC" is for both. See all QFX settings.
Import the QFX file into Quicken
Quicken imports QFX files only in versions up to three years old, and needs an Internet connection during the import. For an older version, use QIF.
In Quicken for Windows:
- Disconnect the account from online services. Click Tools > Account List, click Edit on the account, open the Online Services tab, and click Deactivate.
- Click File > File Import > Web Connect (.QFX) File and select the QFX file.
- Choose "Link to an existing account" and pick the account, or choose "Create a new account". Click Import, then Close.
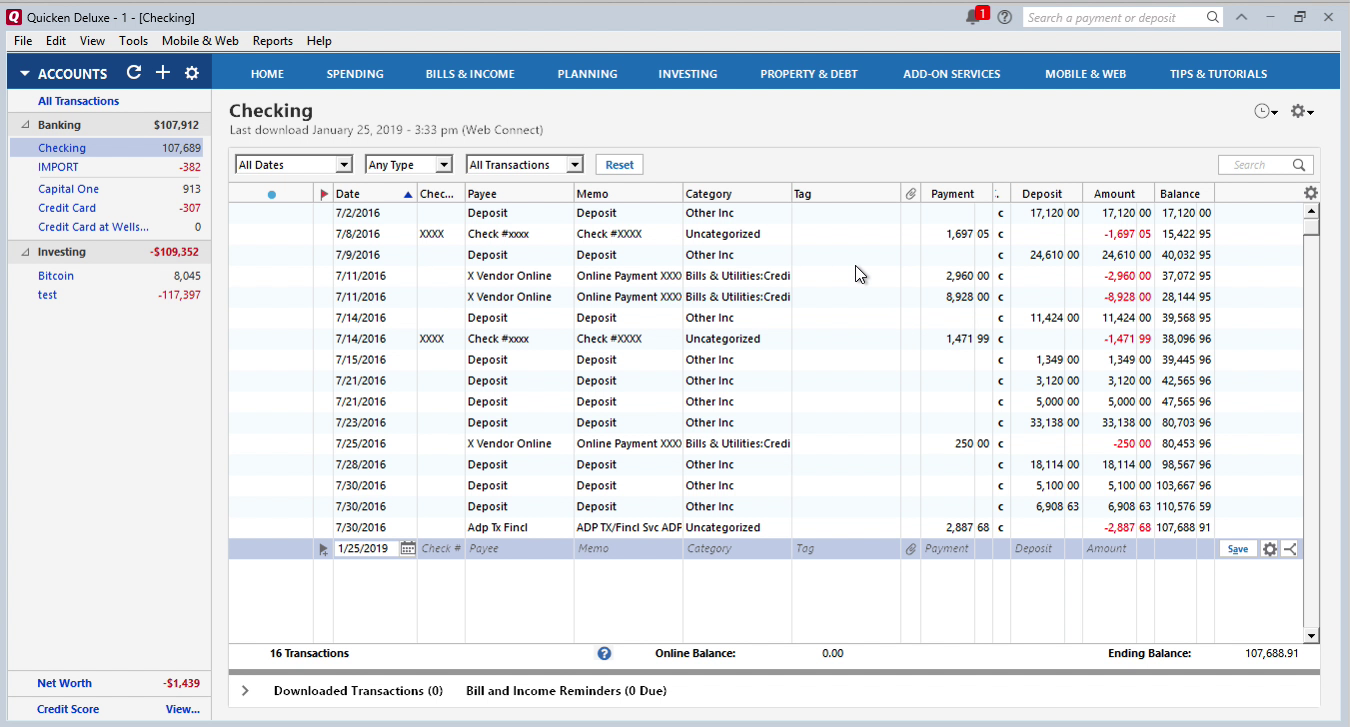
- The transactions appear in the bottom section of the register. Review them and click Accept All.
In Quicken for Mac, click File > Import > Bank or Brokerage File (OFX, QFX) and select the file. See the Quicken import guide for every step.
Quicken QFX questions
Why won't Quicken import a QFX file into my account?
The first QFX import "online links" the account to the bank settings in that file. A QFX file with different settings is then refused for the "occupied" account. Edit the account, open the Online Services tab, and select Deactivate online link, then import again.
Why doesn't Quicken see my QFX file?
The import was started from File > Import > QXF file. QFX files are Web Connect files: use File > File Import > Web Connect File.
Can I import QFX into a non-USD account?
Not safely. Quicken refuses a QFX file in a non-USD currency, and since Quicken 2016 R7 (US edition), importing a USD QFX file into a non-USD account changes the account's currency to USD, which cannot be changed back. Two workarounds:
- Import the QFX file into a USD proxy account, then select all transactions there (right-click > Select all transactions), cut them, switch to the intended account and paste. Amounts stay the same.
- Use QIF, which has no currency.
Why does Quicken say the file is not a valid QFX?
Either the Quicken version is discontinued and no longer accepts QFX, or the financial institution ID in the file is not one Quicken recognizes. Switch to QIF in the first case and choose a listed institution in the second.
Why did Quicken create a new account?
The account ID in the QFX file does not match the one Quicken stored for the existing account. Use the same account ID as the previous import.
Why are transactions doubled after import?
The same period was imported twice with different transaction IDs, or as QIF, which has no IDs and no duplicate check. Import each period once. For QIF, delete the doubled rows in the register.
Related Quicken conversions
- Import PDF into Quicken: convert PDF to QIF
- Import PDF into Quicken: convert PDF to CSV
- Import CSV or Excel into Quicken: convert CSV or Excel to QFX
- Import OFX into Quicken: convert OFX to QFX
- Import QBO into Quicken: convert QBO to QFX
- Import QIF into Quicken: convert QIF to QFX
- Import MT940 into Quicken: convert MT940 to QFX